:: Prologue ::
The last few days have been a little slow for me, Warmahordes-wise. Real life issues and having to assemble and paint a handful of models for Iron Moot has left me with little time to play. In any case I got in two games against Legion, a sorely needed practice! Both games were with Caine2 vs Lylyth3.
:: Lists ::The last few days have been a little slow for me, Warmahordes-wise. Real life issues and having to assemble and paint a handful of models for Iron Moot has left me with little time to play. In any case I got in two games against Legion, a sorely needed practice! Both games were with Caine2 vs Lylyth3.
Cygnar:
Captain Allister Caine - WJ: +27
- Reinholdt, Gobber Speculator - PC: 4
- Stormwall - PC: 39 (Battlegroup Points Used: 27)
- Lightning Pod
Captain Arlan Strangewayes - PC: 4
Journeyman Warcaster - PC: 4
- Charger - PC: 9
Gobber Tinker - PC: 2
Ragman - PC: 4
Lanyssa Ryssyl, Nyss Sorceress - PC: 3
Rangers - Leader & 5 Grunts: 9
Storm Lances - Leader & 2 Grunts: 12
Storm Lances - Leader & 2 Grunts: 12
Opponent:
:: Pre-Battle Thoughts & Deployment ::
I have a bit of experience against Lylyth3 with Haley2 and Kara Sloan. She's an incredibly fast caster with downright ridiculous threat ranges. Indeed, she was one of the reasons why I wanted to try Caine2 in the first place instead of Sloan. We were playing Extraction and Legion went first. Going second against Legion in general is bad, but a solution is often to claim one side of the table so that you can threaten the scenario. As such I picked a side with a trench and a forest on one flank where I intended to have fort Caine where he did not have vision to me and use the Stormwall as an anchor so as to establish scenario presence on that flank.

:: Game ::
Legion runs up. Escort is cast.

The two Striders on the right flank are a bit of a problem. They threaten to make so many things stationary on feat turn and I just can't have that. I pre-measure and ensure I can e-leap off of Rangers to get the both of them and decide to take the risk. It works out perfectly and I trade my 2 Rangers for the 2 Deathstalkers. The Stormwall runs up centrally. I make a mistake with Caine as he should've gone straight for the Trench with Heightened Reflexes, instead he camps behind the Stormwall. I think this is overly passive but I'm not 100% sure. The second Lances take up cover on the left flank.

Archangel and Lylyth take out the lances on the left and the entire Legion line shuffles a bit. This is the opening I discussed in my pre-game thoughts: It's very hard for him to buy space without putting himself in danger.

I make a mistake here as I go for the objective, forgetting that it's a bunker. I should've shot up Typhon but I wasted a shot on the objective. The other shot lands quite a few boxes on Typhon however as I spike. The Charger tries it luck on the Bolter but the cover granting it DEF17 keeps it safe. Lances take the flag for 1-0. Caine moves to the trench.

My opponent clearly sees the scenario angle here and as such he wants to put the pressure on me. The Blackfrost Shard moves up and puts Kiss and -2 DEF on the Stormwall. Naga casts Wraithbane on Typhon which moves up and shoots off half of the Stormwall and then some. The Bolter failed its frenzy test so it couldn't contribute as it instead charged a pod (which I had e-leaped off of to spike some boxes on him previously). It was up to Lylyth3 and the Archangel. Lylyth had to cast Wraithbane so her own presence wasn't expected to be great but she killed the Lance on the flag at least to prevent me from scoring in his turn.
The Archangel got 3 shots and the first two were average rolls, meaning he needed a staggering 15+ to kill off the Stormwall. Two sixes and a five later and I was minus one Colossal.

So quick math his heavy shooters average 6 shots at dice minus 3. All shots hitting and boosted for damage result in 45 boxes on average. 11 more is a bit of a spike, but it's not completely batshit (considering the Bolter failed its frenzy test as well). Anyway I had a bit of a pickle on my hands.
To get out of this I needed to neutralize Typhon, the Bolter and the Archangel. The Lances were within 15" easily so with Lanyssa landing Hunter's Mark I could charge the Typhon. The Charger would have to charge the Bolter and Caine's feat would have to do a -ton- of work.
I started off with Caine and he put Grievous on the Typhon along with a few boxes before he moved to the Archangel, which he left on 9 boxes. All trick shots stripped support within 4" and Grievous was landed on the gargantuan as well. Its spirit was crippled, which was kind of important. The Charger charged the Bolter to contest and do a few boxes. It left it on just a couple of boxes. Lanyssa landed Hunter's Mark on the Typhon and the Lances charged it. The e-leaps took out the Bolter but the Typhon survived on 4 boxes with only its Spirit intact. Ragman moved to the flag for a 2-1 lead. Junior put Shield up on Caine.

With the Bolter down Lylyth's threat was greatly reduced. She could possibly have tried to clear a path for Caine here as I had to move outside of the trench to reach the Typhon (I did not have any focus nor heightened reflexes up either). In any case my opponent didn't consider the option, instead trying to go for attrition. Despite losing its cortex the Archangel could do some serious work here as it was feat time: If my opponent could clear enough he might get up on scenario. The Charger went down along with a Ranger I think, Ragman was killed but 1 Lance survived, engaged by the Typhon. 2-2.

The Naga had committed in his previous turn so I had a good opening here. Caine took out the Typhon with Black Penny before killing the AA with help from Junior while Trick Shots started pounding the Naga. Having freed up the Lance I finished off my turn with charging the Naga which killed it. Arlan, being useless now that I had 0 jacks left, ran to the objective.

Lylyth kills the lance and Arlan. 3-3.

The plan is to put up Arcane Shield on the objective so Lylyth can't kill it just in case Caine rolls horribly. He does not however and Lylyth dies!

:: Evaluation ::
A very intense and interesting game! Lylyth's huge threat projection was a problem as always but I carved out the space and opening I needed. I should have placed Caine more offensively T1 I think because Reinholdt has a pretty crucial opportunity here: Strip stealth from the Blackfrost member with Kiss so Stormwall can shoot it. If I can threaten this the Stormwall can't be shot down barring insane spikes and to deny that positioning-wise he has to commit the Archangel significantly more so than he did this game, which probably means I can get better angles for my shooting.
Caine's feat turn was an act of desperation and I knew he would be in trouble. More than anything this is a result of the previous turns' mistakes and it largely boils down to playing him too defensively in the very first turn of the game. I could however have improved my defensive position here by placing Lanyssa in front of Caine. He would've had nothing else to reliably remove her with I think so that would likely mean one less shot from Lylyth (not to mention he has to make some hard priorities with only 5 fury and these 2 targets). The small things matter!
The Lances on the left flank sacrificed their lives and it might seem expensive, but considering how strong the shooting is I'm not sure it's better to have the Archangel start pounding the Stormwall. Given the position on the board he could have blessed it at which point I'm likely losing 15-20 boxes. That makes it hard to prevent him from downright killing the Stormwall in the next turn unless I give up tons of table space. Going second I think my list has to sacrifice something to deny him chipping boxes off of the Stormwall.
A great game with many learning points. I'm certain there are things Legion could've done better as well but for now I have more than enough to analyze from my own perspective.
Lylyth, Reckoning of Everblight - WB: +29
- Archangel - PC: 37 (Battlegroup Points Used: 29)
- Naga Nightlurker - PC: 8
- Nephilim Bolt Thrower - PC: 11
- Typhon - PC: 24
Strider Deathstalker - PC: 4
Strider Deathstalker - PC: 4
The Forsaken - PC: 4
Blighted Nyss Shepherd - PC: 1
Blighted Nyss Shepherd - PC: 1
Blighted Nyss Shepherd - PC: 1
Blackfrost Shard - Sevryn, Rhylyss & Vysarr: 9
:: Pre-Battle Thoughts & Deployment ::
I have a bit of experience against Lylyth3 with Haley2 and Kara Sloan. She's an incredibly fast caster with downright ridiculous threat ranges. Indeed, she was one of the reasons why I wanted to try Caine2 in the first place instead of Sloan. We were playing Extraction and Legion went first. Going second against Legion in general is bad, but a solution is often to claim one side of the table so that you can threaten the scenario. As such I picked a side with a trench and a forest on one flank where I intended to have fort Caine where he did not have vision to me and use the Stormwall as an anchor so as to establish scenario presence on that flank.

:: Game ::
Legion runs up. Escort is cast.

The two Striders on the right flank are a bit of a problem. They threaten to make so many things stationary on feat turn and I just can't have that. I pre-measure and ensure I can e-leap off of Rangers to get the both of them and decide to take the risk. It works out perfectly and I trade my 2 Rangers for the 2 Deathstalkers. The Stormwall runs up centrally. I make a mistake with Caine as he should've gone straight for the Trench with Heightened Reflexes, instead he camps behind the Stormwall. I think this is overly passive but I'm not 100% sure. The second Lances take up cover on the left flank.

Archangel and Lylyth take out the lances on the left and the entire Legion line shuffles a bit. This is the opening I discussed in my pre-game thoughts: It's very hard for him to buy space without putting himself in danger.


My opponent clearly sees the scenario angle here and as such he wants to put the pressure on me. The Blackfrost Shard moves up and puts Kiss and -2 DEF on the Stormwall. Naga casts Wraithbane on Typhon which moves up and shoots off half of the Stormwall and then some. The Bolter failed its frenzy test so it couldn't contribute as it instead charged a pod (which I had e-leaped off of to spike some boxes on him previously). It was up to Lylyth3 and the Archangel. Lylyth had to cast Wraithbane so her own presence wasn't expected to be great but she killed the Lance on the flag at least to prevent me from scoring in his turn.
The Archangel got 3 shots and the first two were average rolls, meaning he needed a staggering 15+ to kill off the Stormwall. Two sixes and a five later and I was minus one Colossal.

So quick math his heavy shooters average 6 shots at dice minus 3. All shots hitting and boosted for damage result in 45 boxes on average. 11 more is a bit of a spike, but it's not completely batshit (considering the Bolter failed its frenzy test as well). Anyway I had a bit of a pickle on my hands.
To get out of this I needed to neutralize Typhon, the Bolter and the Archangel. The Lances were within 15" easily so with Lanyssa landing Hunter's Mark I could charge the Typhon. The Charger would have to charge the Bolter and Caine's feat would have to do a -ton- of work.
I started off with Caine and he put Grievous on the Typhon along with a few boxes before he moved to the Archangel, which he left on 9 boxes. All trick shots stripped support within 4" and Grievous was landed on the gargantuan as well. Its spirit was crippled, which was kind of important. The Charger charged the Bolter to contest and do a few boxes. It left it on just a couple of boxes. Lanyssa landed Hunter's Mark on the Typhon and the Lances charged it. The e-leaps took out the Bolter but the Typhon survived on 4 boxes with only its Spirit intact. Ragman moved to the flag for a 2-1 lead. Junior put Shield up on Caine.

With the Bolter down Lylyth's threat was greatly reduced. She could possibly have tried to clear a path for Caine here as I had to move outside of the trench to reach the Typhon (I did not have any focus nor heightened reflexes up either). In any case my opponent didn't consider the option, instead trying to go for attrition. Despite losing its cortex the Archangel could do some serious work here as it was feat time: If my opponent could clear enough he might get up on scenario. The Charger went down along with a Ranger I think, Ragman was killed but 1 Lance survived, engaged by the Typhon. 2-2.

The Naga had committed in his previous turn so I had a good opening here. Caine took out the Typhon with Black Penny before killing the AA with help from Junior while Trick Shots started pounding the Naga. Having freed up the Lance I finished off my turn with charging the Naga which killed it. Arlan, being useless now that I had 0 jacks left, ran to the objective.
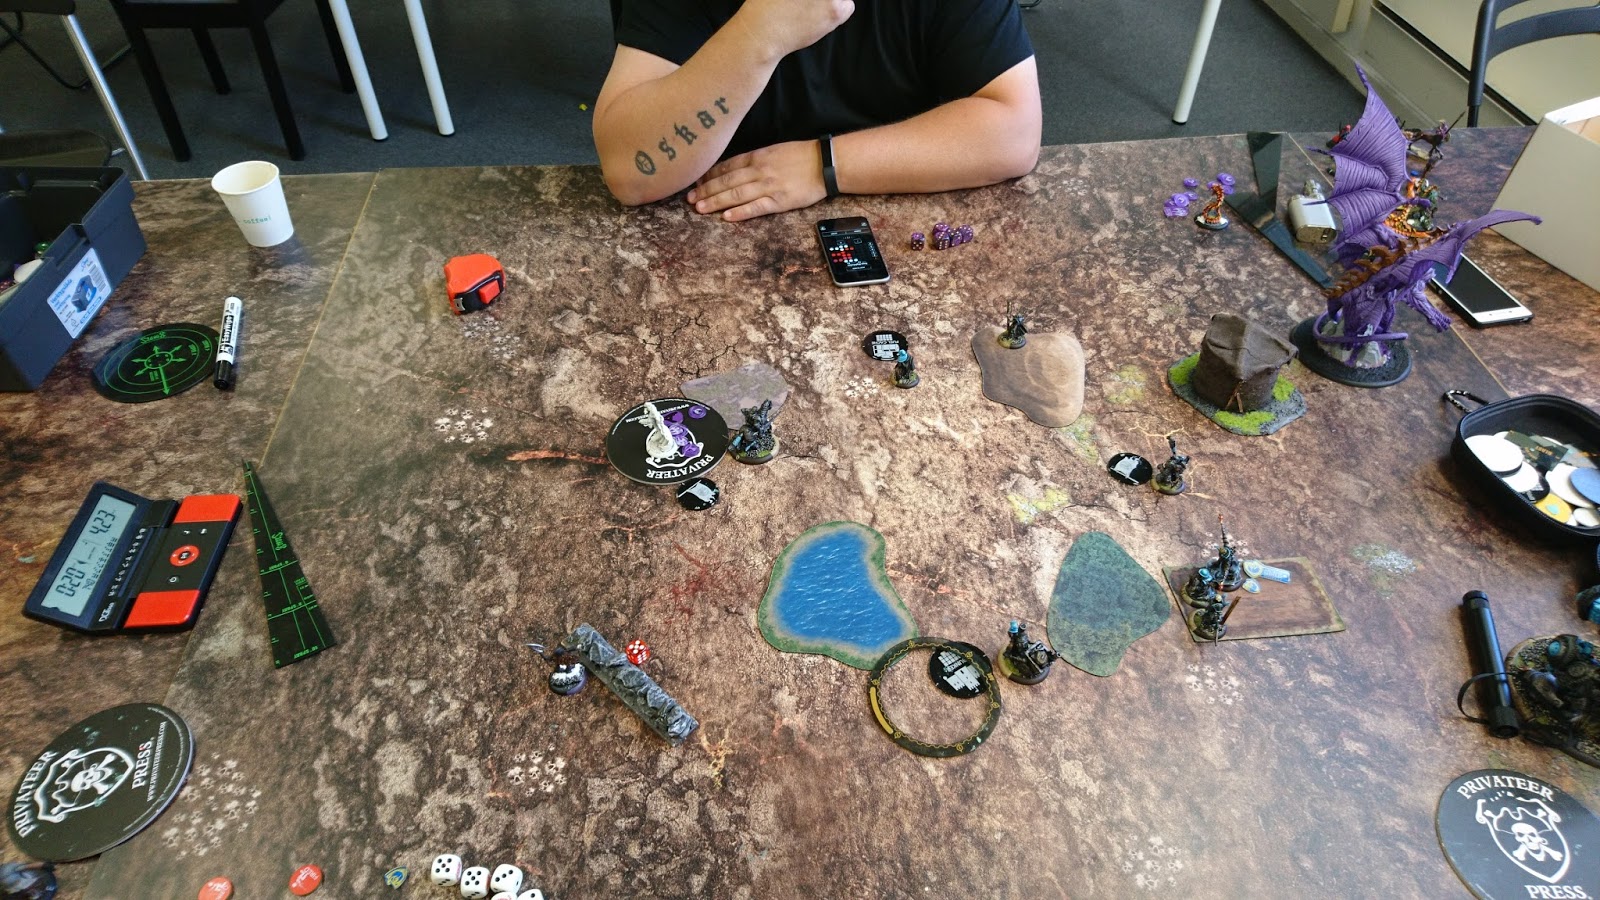
Lylyth kills the lance and Arlan. 3-3.

The plan is to put up Arcane Shield on the objective so Lylyth can't kill it just in case Caine rolls horribly. He does not however and Lylyth dies!

Victory to the Swans!
:: Evaluation ::
A very intense and interesting game! Lylyth's huge threat projection was a problem as always but I carved out the space and opening I needed. I should have placed Caine more offensively T1 I think because Reinholdt has a pretty crucial opportunity here: Strip stealth from the Blackfrost member with Kiss so Stormwall can shoot it. If I can threaten this the Stormwall can't be shot down barring insane spikes and to deny that positioning-wise he has to commit the Archangel significantly more so than he did this game, which probably means I can get better angles for my shooting.
Caine's feat turn was an act of desperation and I knew he would be in trouble. More than anything this is a result of the previous turns' mistakes and it largely boils down to playing him too defensively in the very first turn of the game. I could however have improved my defensive position here by placing Lanyssa in front of Caine. He would've had nothing else to reliably remove her with I think so that would likely mean one less shot from Lylyth (not to mention he has to make some hard priorities with only 5 fury and these 2 targets). The small things matter!
The Lances on the left flank sacrificed their lives and it might seem expensive, but considering how strong the shooting is I'm not sure it's better to have the Archangel start pounding the Stormwall. Given the position on the board he could have blessed it at which point I'm likely losing 15-20 boxes. That makes it hard to prevent him from downright killing the Stormwall in the next turn unless I give up tons of table space. Going second I think my list has to sacrifice something to deny him chipping boxes off of the Stormwall.
A great game with many learning points. I'm certain there are things Legion could've done better as well but for now I have more than enough to analyze from my own perspective.


