For my second game I drew Khador. My opponent was playing Butcher2/Vlad3 in ADR and again I was very happy with my pairing: I have only played against Khador a handful of times and never against either of these two casters. I put up Haley and he chose Butcher. The scenario was Outflank.
:: Lists ::
Cygnar:
Major Victoria Haley - WJ: +5Opponent:
- Squire
- Stormwall - PC: 19 (bonded)
- Lightning Pod
- Thorn - PC: 8
Journeyman Warcaster - PC: 3
Black 13th Gun Mage Strike Team - Lynch, Ryan & Watts: 4
Tactical Arcanist Corps - Leader & 2 Grunts: 4
Kommander Orsus Zoktavir - WJ: +6
- War Dog
- Beast 09 - PC: 11
- Ruin - PC: 10
Eiryss, Angel of Retribution - PC: 3
Doom Reavers - Leader & 5 Grunts: 6
Doom Reavers - Leader & 5 Grunts: 6
Widowmakers - Leader & 3 Grunts: 4
:: Pre-Battle Thoughts & Deployment ::
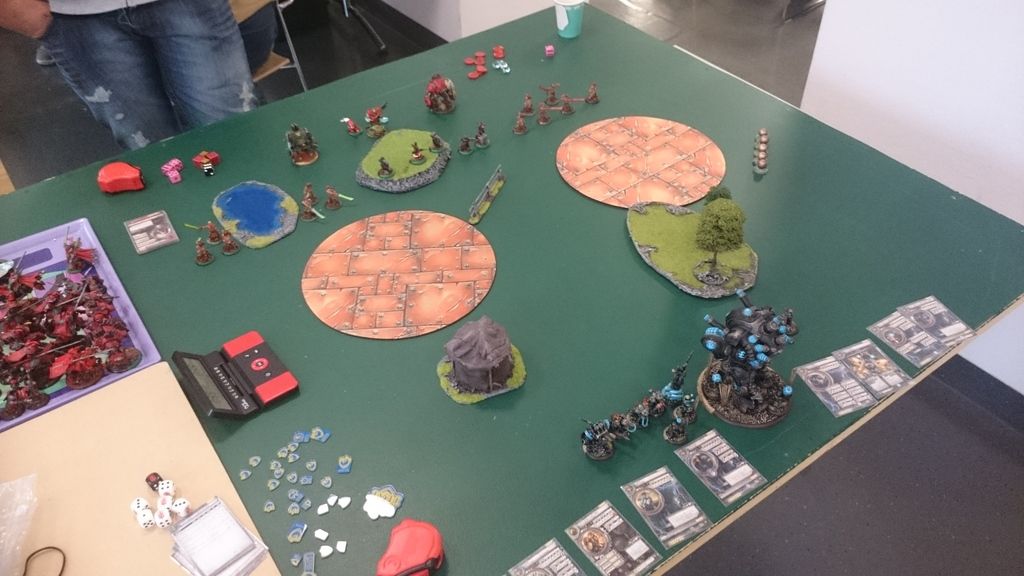
Outflank is a scenario I frequently experience Haley being able to completely control. I'm not sure exactly what it is but I suppose it has to do with the need to have a large portion of your army centrally positioned to be flexible towards both zones. This makes her control elements in general and feat in particular very hard to deal with for an opponent. For this game I got T1 as my opponent chose the side with a hill. I deployed everything centrally with Thorn on one flank and B13th on the other, intending to use them to stem the inevitable tide of Doom Reavers. Khador replied with one unit of Doom Reavers on each flank and the battlegroup near the central hill. Widowmakers took a fence between the zones.
:: Game ::
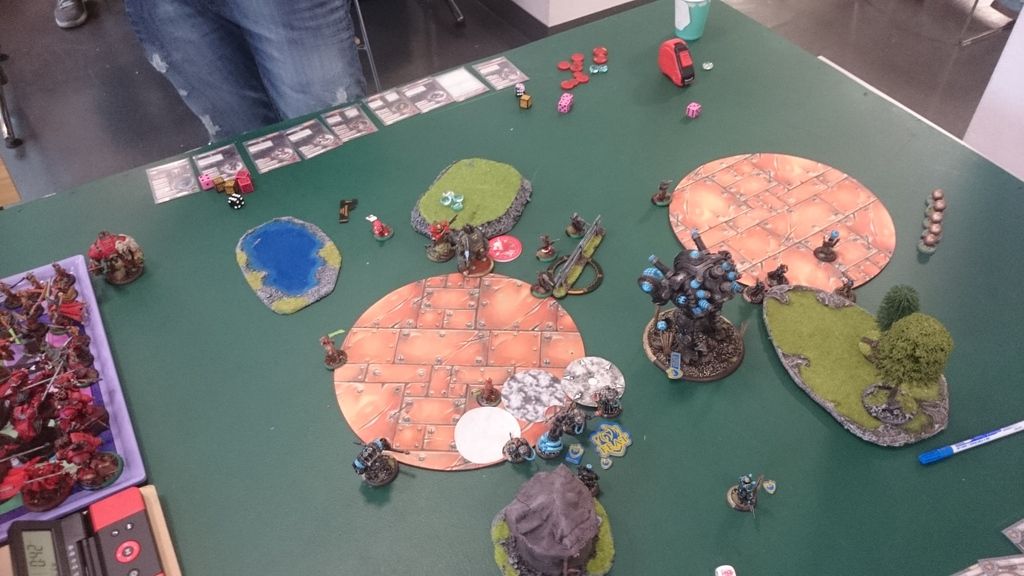
First things first: Get up the middle and make sure the Stormwall has a dominating position for the next turn. He runs with Temporal, Haley goes towards left circle, Thorn runs left flank and B13th takes the wood for Stealth.
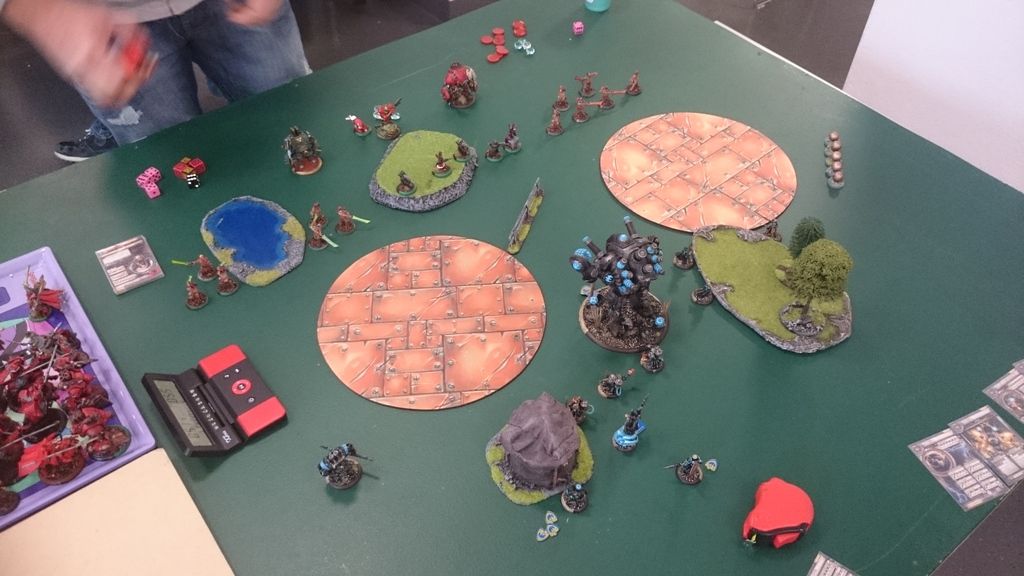
Khador replies with the battlegroup taking the hill and the Doomreavers jamming as best they can.
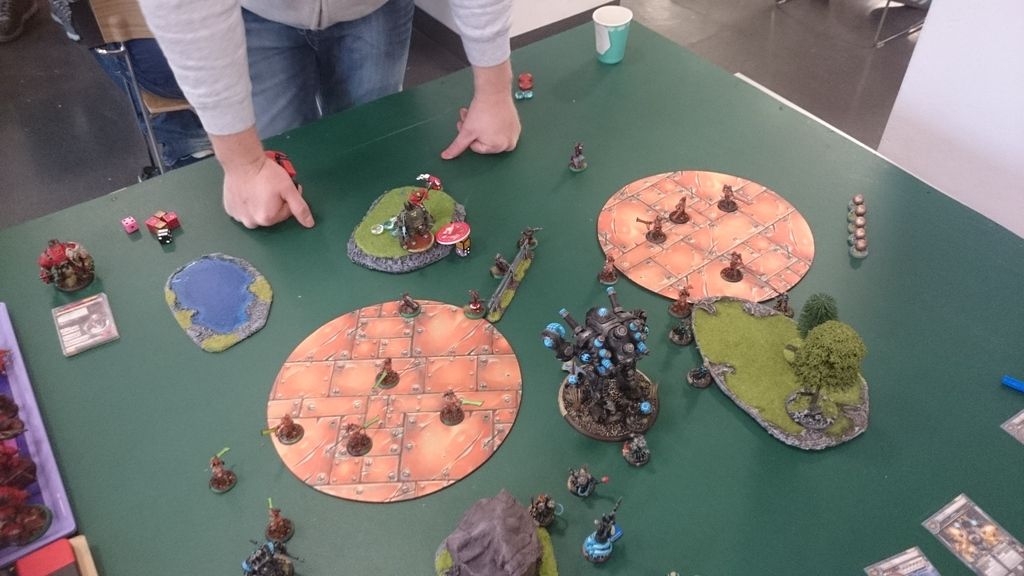
Stormwall moves up, pods down 2 Reavers on the right to clear up for the B13th and lets loose with the right metal storm + big guns. The left metal storm puts down covering fire on top of 2 widowmakers. Lynch tries his luck and manages to kill Eiryss while the rest of the B13th kill off the right Doomreavers.
On the other side of the table I mess up as I forget about Spell Shield. I thus was a number of focus tokens on Haley intended for Arcane Bolt and TAC can't target them either. Oh well, I can't complain with regards to my luck on the right flank but it is a pity to waste so much focus. Anyway I move into the circle and feat, covered behind clouds.
The few remaining Doom Reavers move to block TAC. Battlegroup moves to contest.
At this point in time, I reckoned I could TK Butcher2 away and then TK Beast out of the zone to score 3 points to his 0 with dominating the left and controlling the right. The thing is, I hadn't read Butcher2's feat closely enough. Specifically, I hadn't noticed the part about his battlegroup being able to basically get an extra activation.
So, what happened was that I podded in front of the jacks and time bombed said pod. I TK'd away and dominated for 3-0. I was sure he couldn't reach me.
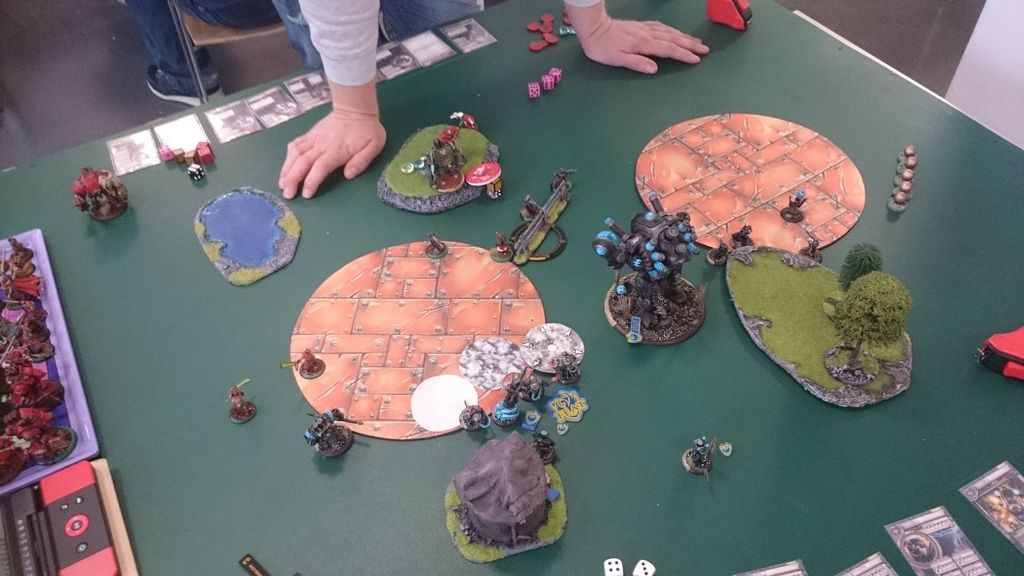
Cue Butcher2. He wasn't Time Bombed so he could charge. His dog ran up and he charged said dog, then used his feat. He rolled a 5 for his focus so was at 6. He then cast the Pow13 nuke at a clouded TAC having previously suffered 3 wounds. Let's recap these events with the following picture (end of my last turn):
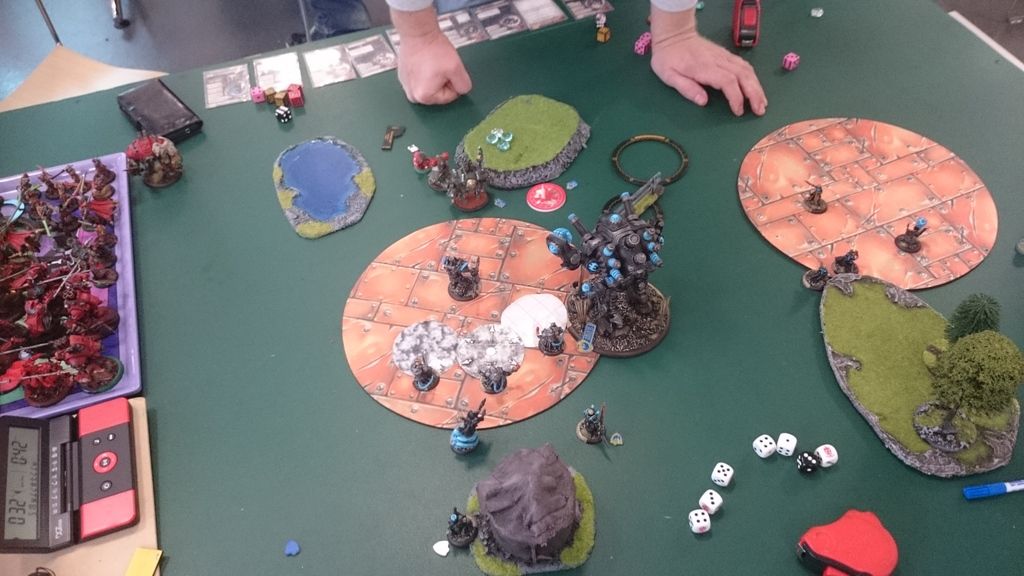
So basically Butcher2 was now in-between Thorn and the TAC, a little to the left (out of reach-range). He needed to hit and kill the central model (who had 2 boxes left). He boosted to hit, leaving him on 2 focus. He intended to attack thrice and thus kill Thorn + another TAC, getting him 3 rage tokens. With that, Beast could run 8" (due to conferred rage), make his feat move to advance a further 4" and then target Haley, camping 0 focus, with MAT9 and 3 rage tokens.
Unfortunately for my opponent, he didn't manage the 5+ needed to kill the central TAC model with his nuke and thus his chain was broken ass he didn't get the 2" he needed to target the TAC and Thorn. In fact, he killed none of my models all game. At this point in time it was all over and my opponent conceded.
Victory to the Swans!
:: Evaluation ::
Throughout the report above I have included a fair bit of the analysis in this game. My biggest mistake was obviously not reading his feat carefully enough. I could easily have denied him an opportunity to get back in the game: Haley could've simply backed off for example. At best then, he kills Thorn and I'm up 3-0 (as he can't contest the right zone). I'm sure there were other angles as well and don't forget that I had a fully functional Stormwall right around the corner.
In my second turn I also made a grave mistake which cost me long into the later stages of the game: Saving up tons of focus on Haley to Arcane Bolt a spellshielded unit is, needless to say, useless. I could've probably charged something, TK'd and kept hitting with Haley. With her insane focus this quickly nets me 3-4 kills and with feat I'm not really afraid of return attacks. Having to clear the Doom Reavers was what put Thorn in such an iffy position in the last picture: I can't remember the specifics but because he had to aid me in clearing duty I had to spend Reaction Drive after I Time Bombed the Pod to bring him close enough to Butcher2 to TK him away. Had I cleared the Doom Reavers properly earlier on I could've been within 8" of Butcher2 and rather spent Reaction Drive going straight backwards.
If I do this and keep the TAC away, he can't hurt me even with his feat as there's just nothing for him to theoretically reach and kill. I find it very fascinating how these decisions and mistakes ripple down the line and I know full well that I'm either doing something wrong or taking risks when I have to reaction drive Thorn to land a crucial spell.
So overall there's a lot I'm happy with here: Keeping Thorn away from Eiryss, completely killing it in the right zone with B13th, taking out Eiryss and establishing control of the Doom Reavers. While I did win the game by sheer luck (that 5+ would've meant a dead Haley, pretty sure), I learned a couple of very important lessons that I (hopefully) won't forget). Lastly, I should not that although the failed 5+ was what ended up winning me the game, a number of other things could've gone wrong: Butcher's random focus allocation for example (he needed a high roll to make all this work reliably).
Ingen kommentarer:
Legg inn en kommentar